To set up a plan template, navigate to 'Workflows' under the administration section. From here, select the workflow you would like to create your plan on and select the 'plans' tab. Here you will find a list of all the plans that have been set up for the specific workflow, to create a new one click on the 'New Plan' button.
Once the plan has been created, you can configure it to be the default plan that is used every time a workflow is launched. To set a plan as default, first select the plan you would like and click on the default toggle at the top left of the screen, you will then need to save the plan by clicking on the 'Update' button. If you would like this plan to be created each time a workflow is created, navigate over to the 'Config' tab and toggle the 'Create workflows with a plan'.
To customise the permissions on a plan, navigate to 'workflows' under the administration section and click on the workflow you would like to configure. Navigate to the permissions tab and select the role you would like to amend. From here you can select if the role can edit the plan, only view the plan or not have any access to the plan at all.
To create a plan on a specific workflow, navigate to a workflow that you are the owner of or your role has permission to edit it. If Plans have been set up in the above steps there will be a tab on your workflow called 'Plan'. From this page, you can create or edit a plan for the specific project you are working on.
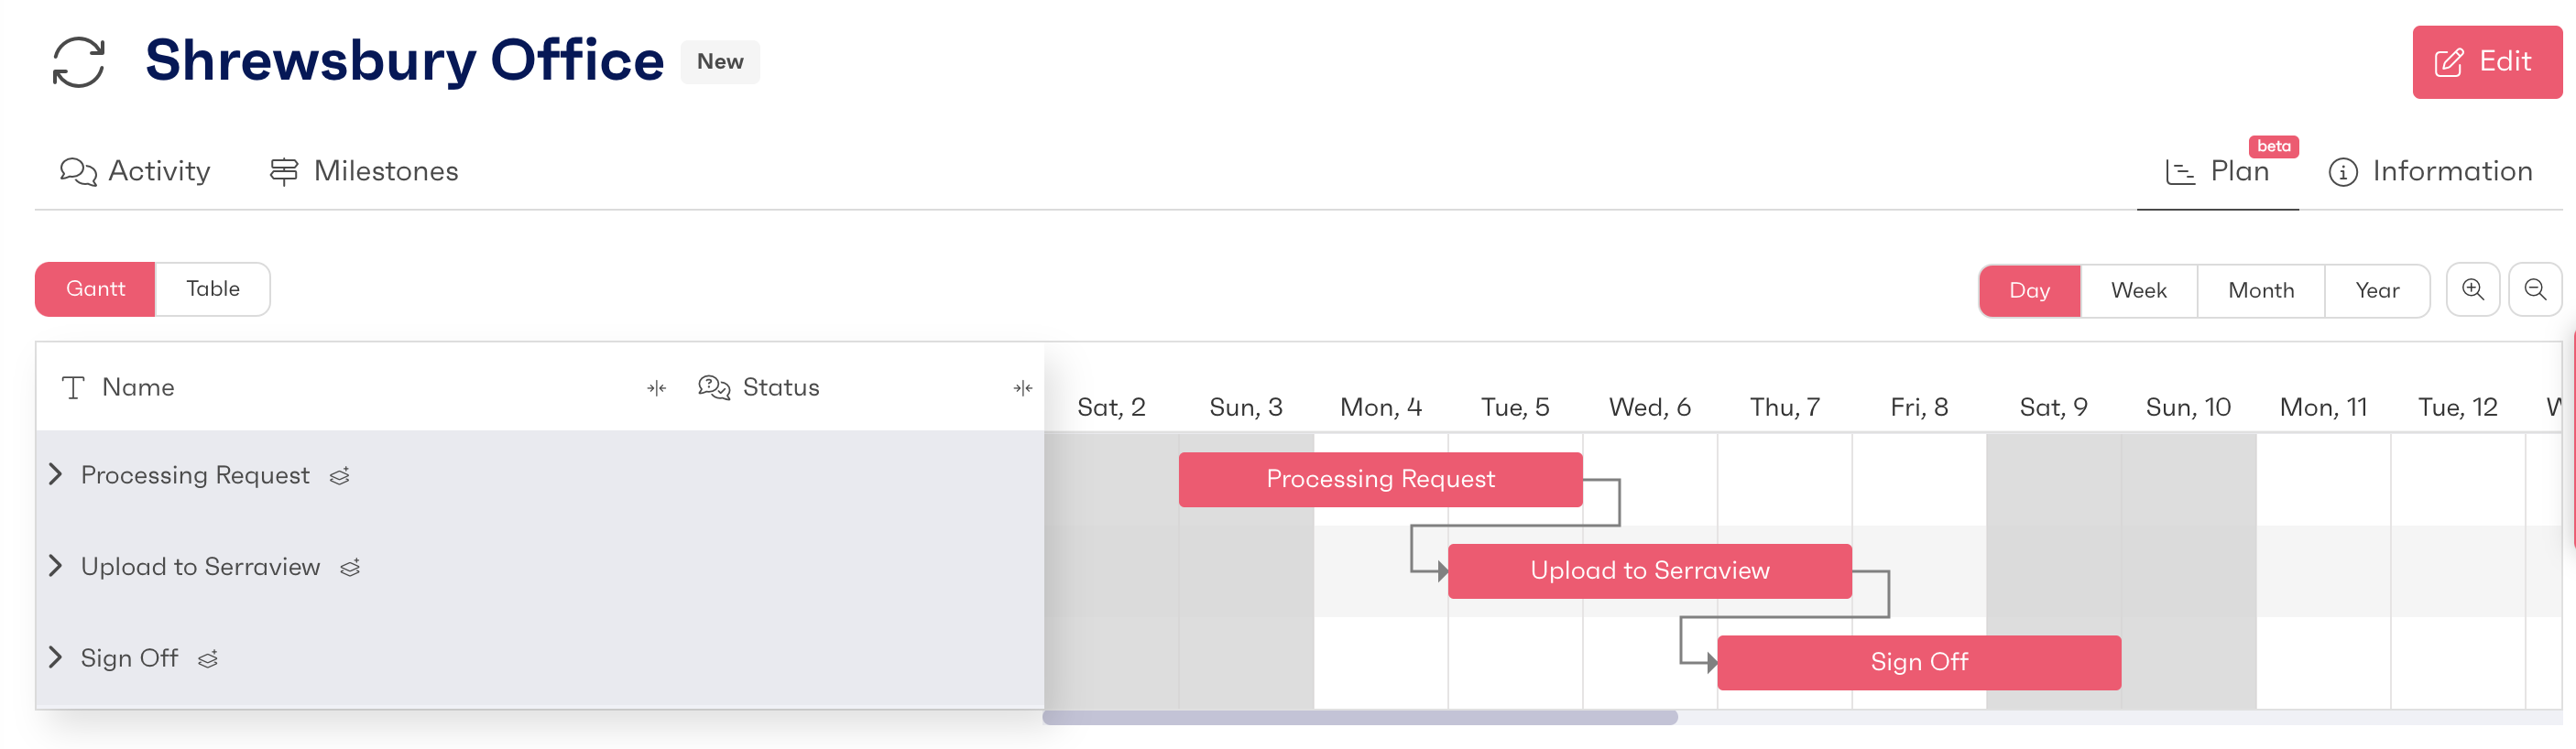
To update or edit a plan, navigate to the workflow you are an owner of or have the correct permissions and select the 'Plan' tab from across the top. From here, you are able to select specific activities within the workflow and update the start date, end date, priority and the user assigned to the activity. You can also use the Gantt chart to adjust the deadlines of activities or even stages. This will assign the actions to specific users within the workflow.