To begin setting up a 3D design, first, create a standard design guide tile on your portal. You can do this by clicking the 'edit' button in the bottom left corner and selecting 'Create Tile' and selecting 'Guide' as the tile type.
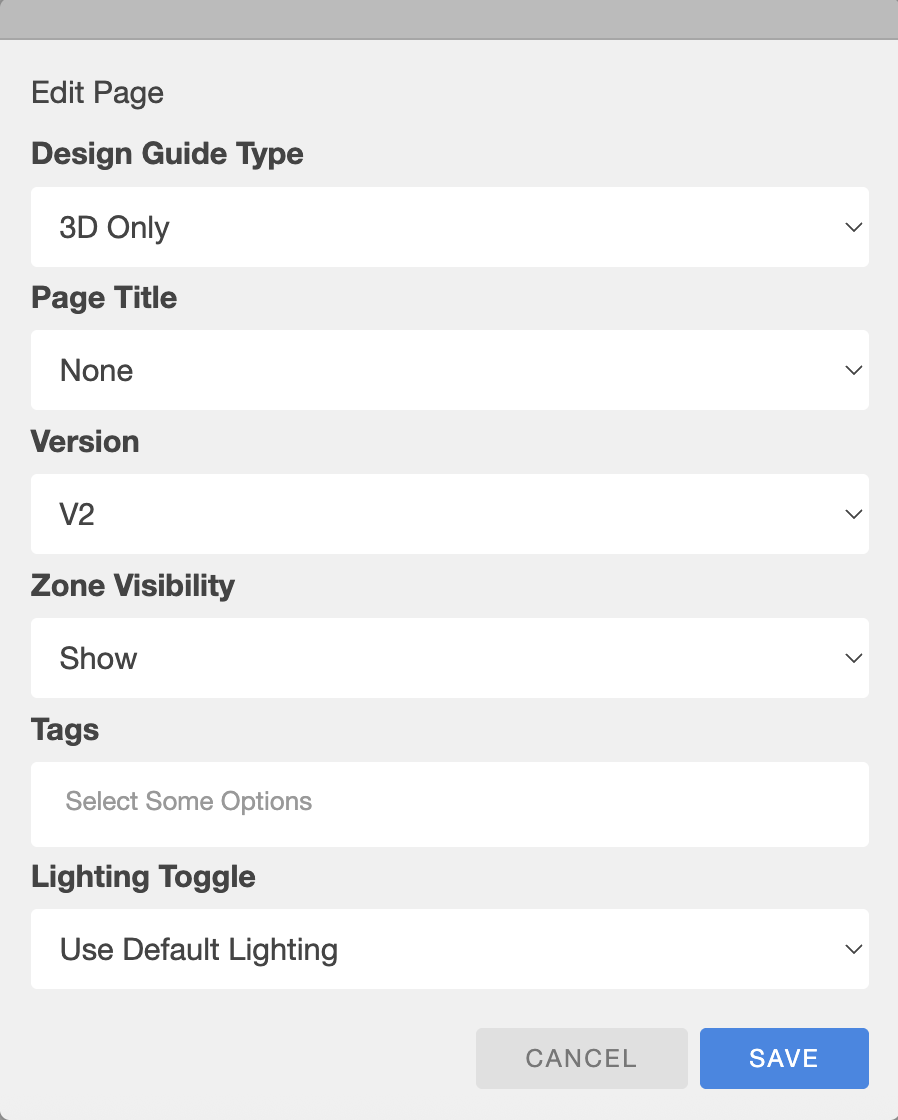
Once on the guide page, click on the page settings from the top left using the pen icon. From here, you can update page settings, including whether the page is 2D, 3D or both. Once a 3D mode has been selected, a cube renders on screen as a placeholder. Clicking the paperclip in the bottom left will allow you to upload your own 3D-rendered office.

Now we have the 3D render uploaded you can add guide markers to the guide using the button at the bottom right. You can move these markers around in the 3D space using the 4-axis arrow tool. You can also adjust map settings using the cog, such as toggling the grid on or off and adding an orbit helper to find where the map will orbit from.
