As part of a workflow process, you may be required to build certain documents, including business cases, purchase orders, invoices and contracts. With SuperDocs, these files can be created, edited and exported directly from the system, pulling the most up-to-date information from the workflow into the document.
To get started creating a document, navigate to a workflow and click on the “Files” tab. From here, there is an option at the top right to “Create Document”. Clicking this will create a document from scratch. Documents can be created from a template if configured, using the three dots at the top right.
Once the document has been created, you can begin adding and editing content within the document.
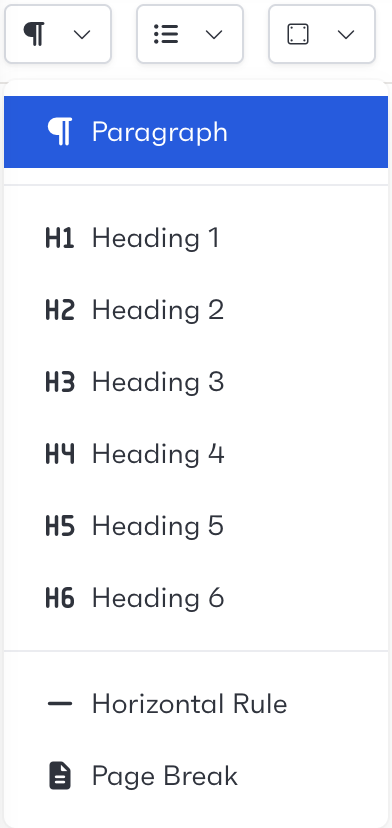
When editing text within the document, there are multiple paragraph styles available, allowing you to customise how the document looks.
Clicking the style dropdown will give you all the options available, including splitting text using horizontal rules or page breaks.
List styles allow you to create different types of lists within the document. These range from bullet points, numbered lists and task lists, which will allow you to check off using tick boxes. Please note that the task lists will render as bullet points when exported.
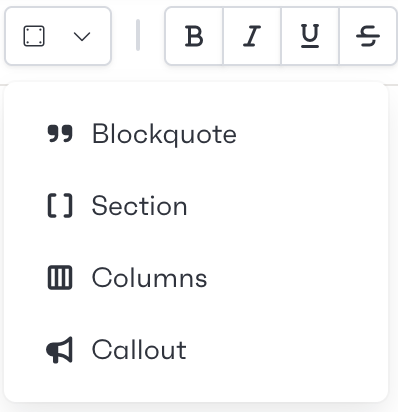
Document layout can be adjusted using block styles. Blockquotes allow you to add references within the document, and columns allow you to adjust the layout of text on the page.
Content can be grouped together into sections. These sections can be locked to ensure the content is not edited.
Callouts can be included in the document as notes or instructions. These block styles will not be included when the document is exported.
Any text within the document can be styled using the customisation toolbar at the top of the screen. Sections can be highlighted for review or aligned using the available alignment options.

Data can be entered into tables within the document. Clicking the table icon will add an empty table to the document.
This table can be customised to include different headers and add additional columns or rows.

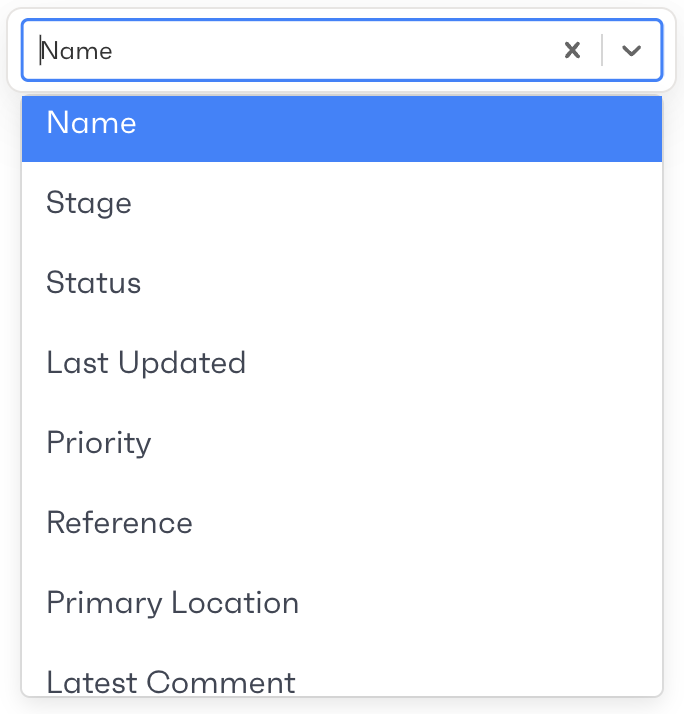
Variables allow users to insert data stored within the workflow into the document. When the data within the workflow is updated, the variable will too. This allows the document to contain the most up-to-date information at all times.
Add a variable by clicking on the bracket icon. Once inserted, clicking on the names with a dotted underline will allow users to update the data point the variable is linked to.
Images can be added to the document using the portrait icon. Once clicked, a menu will open, allowing imagery to be uploaded from local storage and placed into the document.
