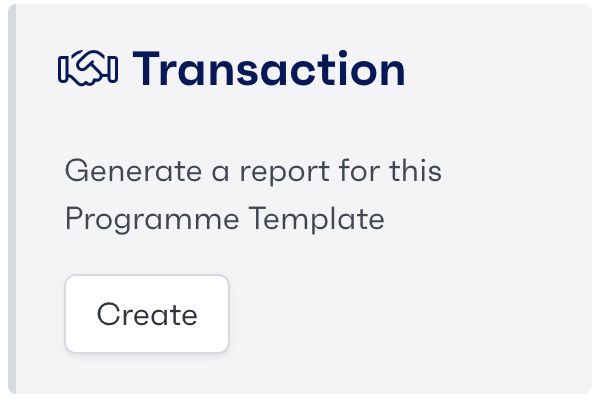
Creating a new report will allow you to display the data in a different way. You can create new reports for different sections, depending on your application. This could be regional in the global portfolio or workflow based in REflow.
To start creating a new report, open the reports page and choose one of the new report categories. You will need to enter a name for the report and add any members who need access to the report.
Adding a new column will allow you to add a new tag for fields on the report.
To add a new column to a report, click on any of the available pre-set fields from the list on the left-hand side of the screen. You can sort the order of your columns by picking them up and dragging them with the column movement icon on the left side of the report builder.
With this tool, you can re-order the priority or order that the information is displayed on a report.
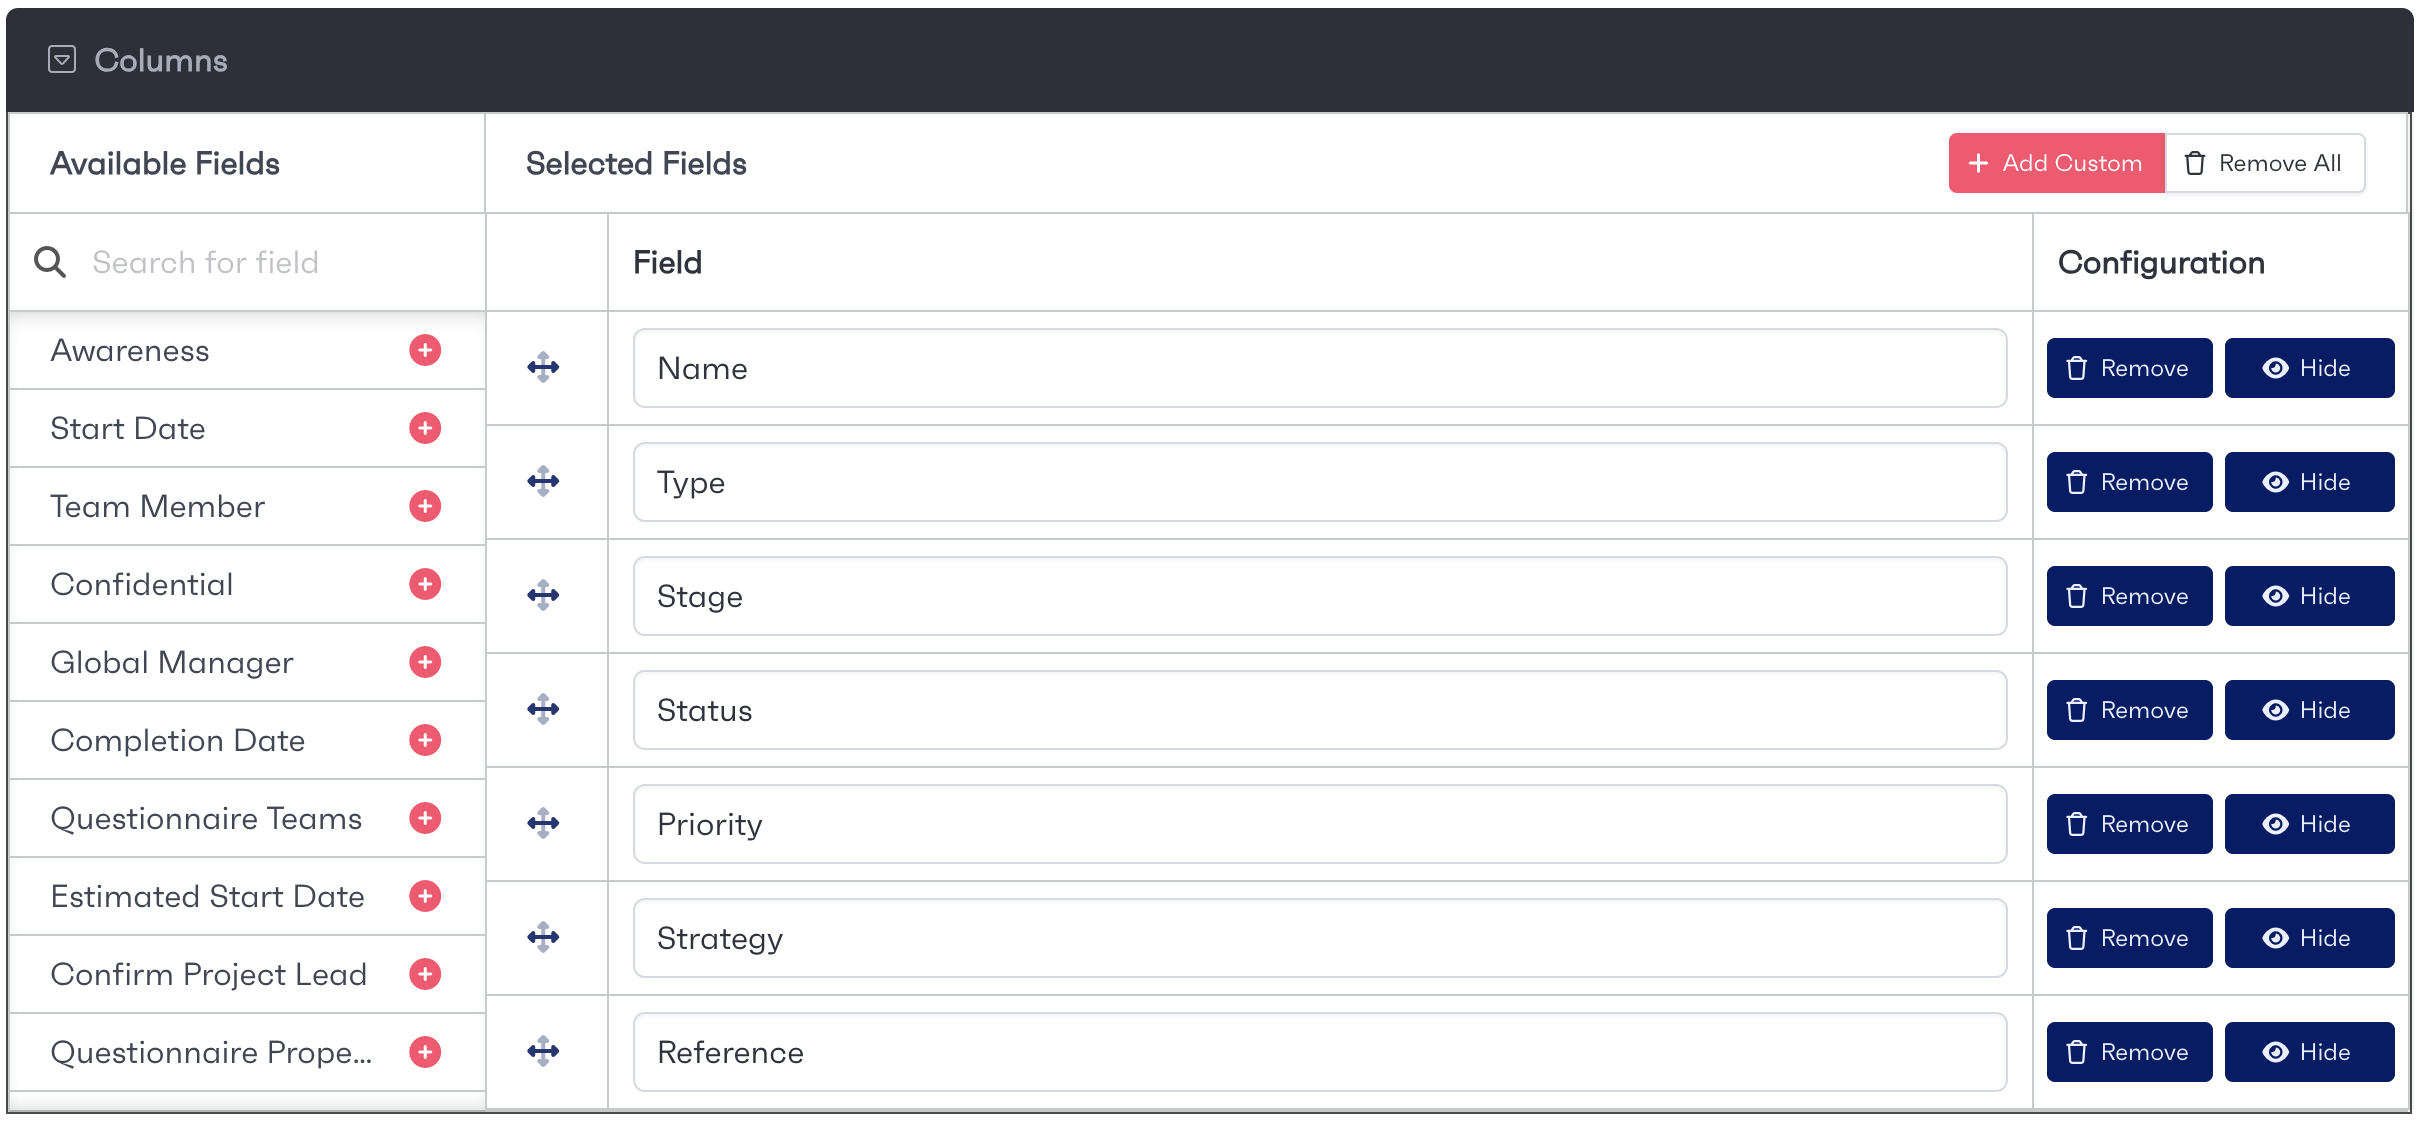
At the top of the report builder, there is an option for a custom column. Once clicked the window on the right is displayed. To create a custom field, you will need to perform the following steps.
Enter the column name
Select the data source for the column
Choose the column type & format
If there are any custom expressions for the column, you will be able to enter them into the 'Expression' field.

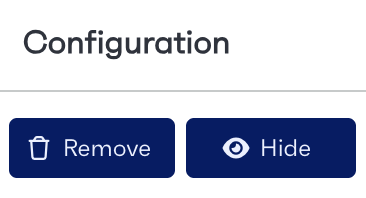
Reports offer the ability to hide columns where required, allowing them to be temporarily removed from the list. To hide a column, simply click the eye icon and it will be hidden from the report view upon saving.
Alternatively, you are able to delete columns in a report if you no longer need them. To delete a column, click the 'remove' button and the report column will be removed from the report upon saving.