
Adding New Menu Items
To add new menu items to the launch menu, you will first need to navigate to ‘Passport’ and select 'Launch Menu’ from the options on the left-hand side of the page. Once you are on this page, you can hover over the ‘New Menu Item’ button at the top right of the page to bring up a list of applications. Select the one you would like to create by clicking on your option.
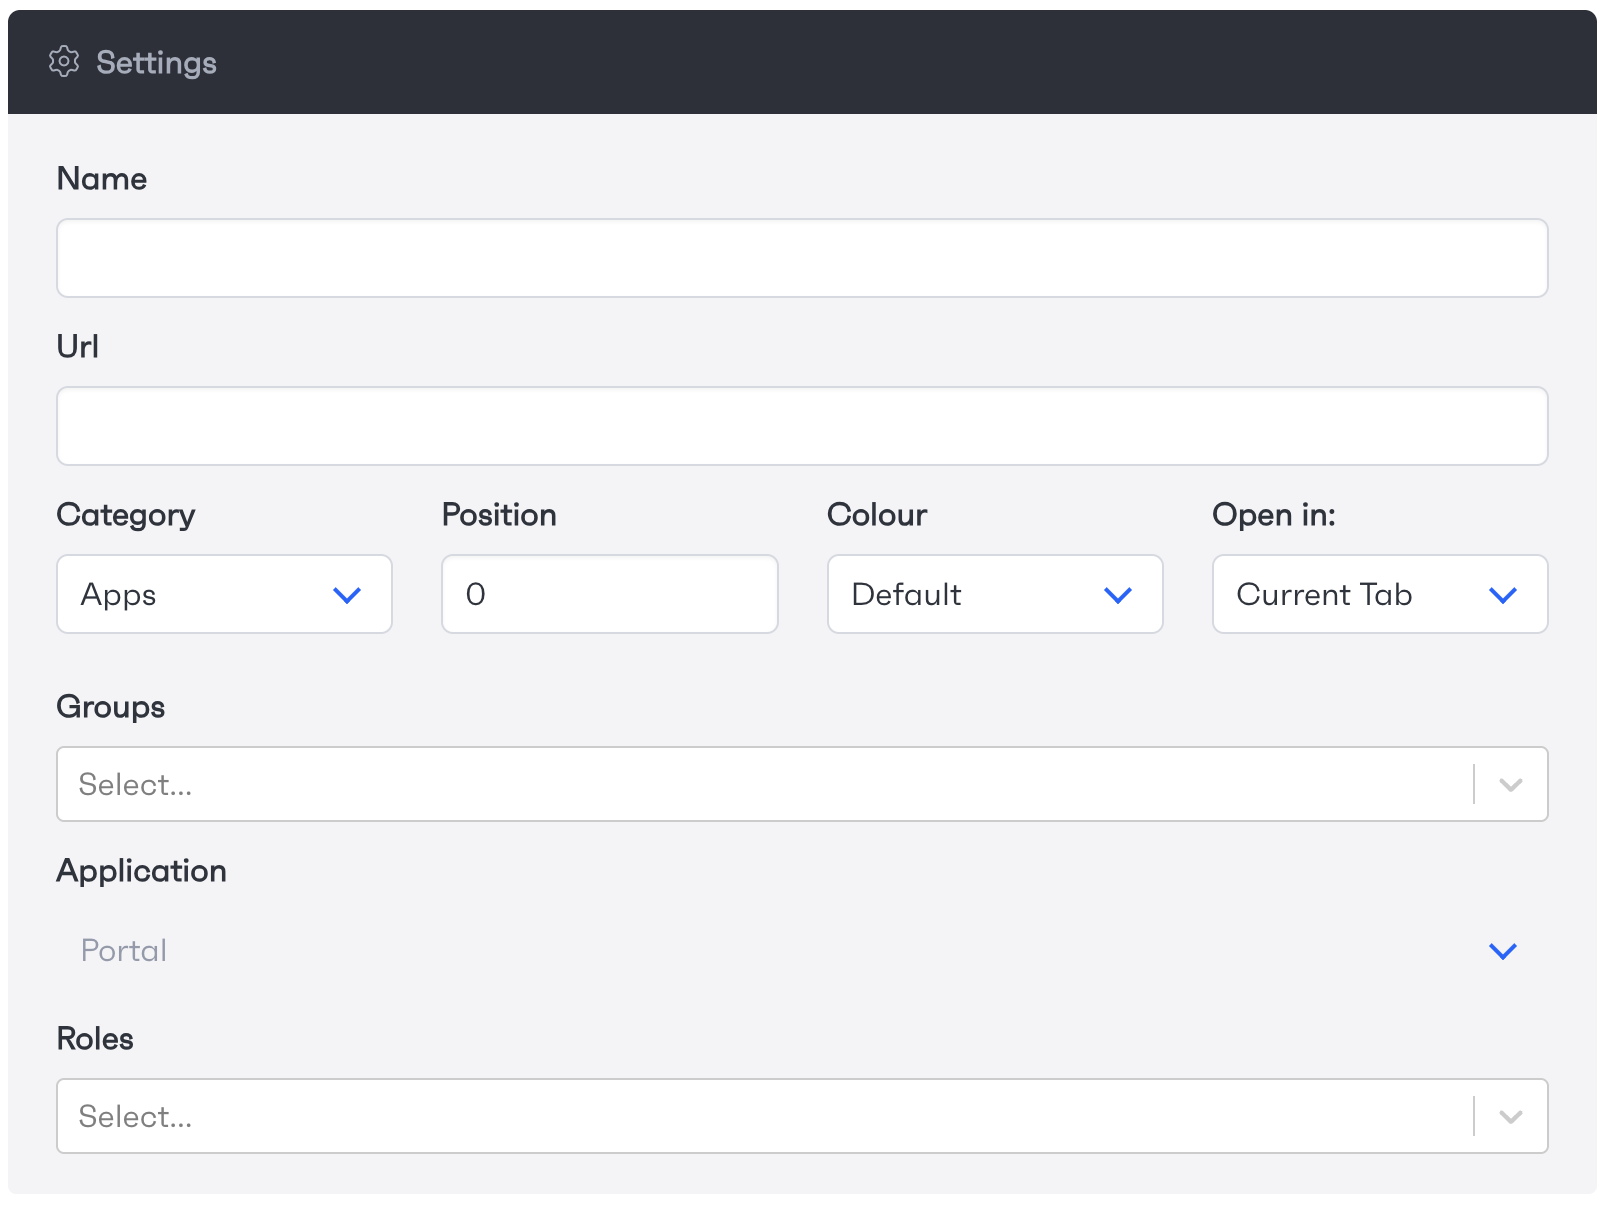

Once selected, you will need to enter information about the new menu item such as category, colour and even restrict visibility to certain groups or roles. Once you have filled in the menu item that you want to add, you can finish the process by clicking the 'Create Menu Item' button.
Editing and Deleting
Editing or deleting a menu item has a similar process to adding an item, you will first need to navigate to the Launch Menu’ page of the passport from the list on the left-hand side of the page. Next, click on the edit button next to the menu item that you are looking to edit or delete from the page.
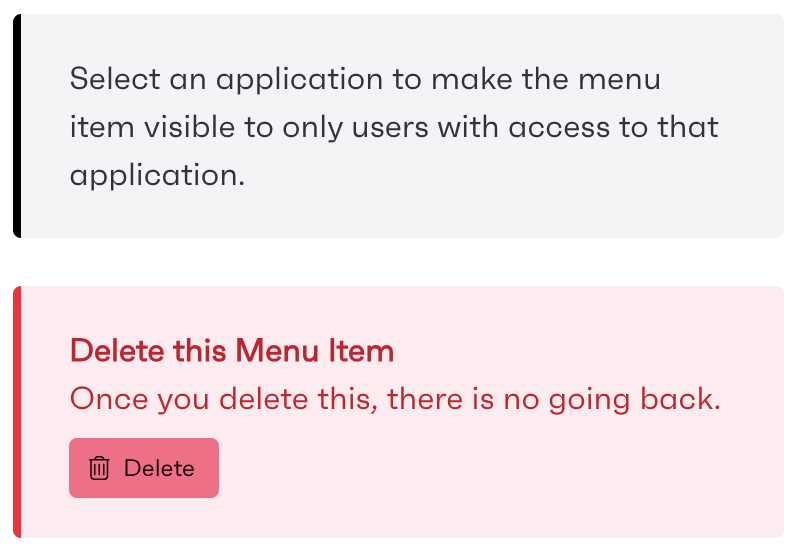
This will bring up another interface that will allow you to change the information for the menu item. You can also remove the menu item by clicking on the delete button. Once this has been done, the button or menu entry will be removed from the page instantly.